Glazed Donut Nails: How to Get the Shimmery Look at Home
I keep seeing glazed donut nails everywhere, and for good reason. This soft, glossy manicure gives nails a healthy, glowing finish that looks effortless yet polished. In this guide, I’ll walk you through what makes this trend special, how to recreate it at home, and how to keep it looking fresh for weeks.
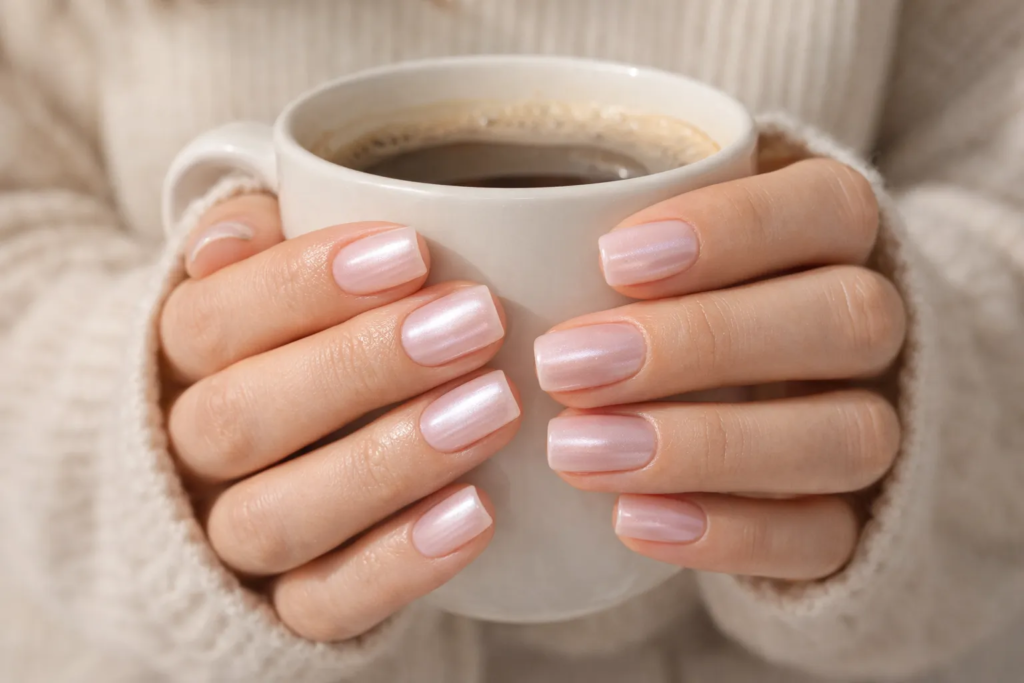
Glazed donut nails have quickly become one of my favorite nail trends because they strike the perfect balance between subtle and eye-catching. Inspired by celebrity styles, this look features a luminous, pearly shine that resembles a sugary glaze. It’s simple, elegant, and works for almost any occasion.
If you’re curious about trying it yourself, I’ll explain everything step by step. From tools and techniques to expert tips, you’ll learn how to achieve a salon-quality finish without leaving your home.
Key Takeaways
Glazed donut nails combine a sheer base with chrome powder for a luminous finish
This manicure works well for all skin tones, nail shapes, and occasions
Using minimal chrome powder ensures a smooth, glossy appearance
Proper nail prep and sealing are essential for long-lasting results
You can experiment with different base colors to create unique variations
What Are Glazed Donut Nails?
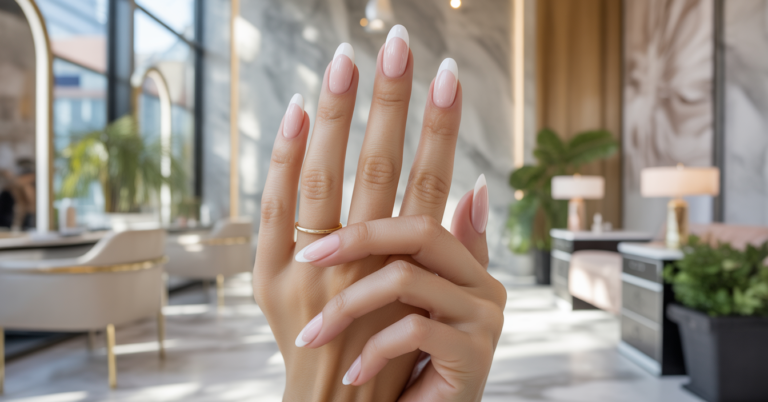
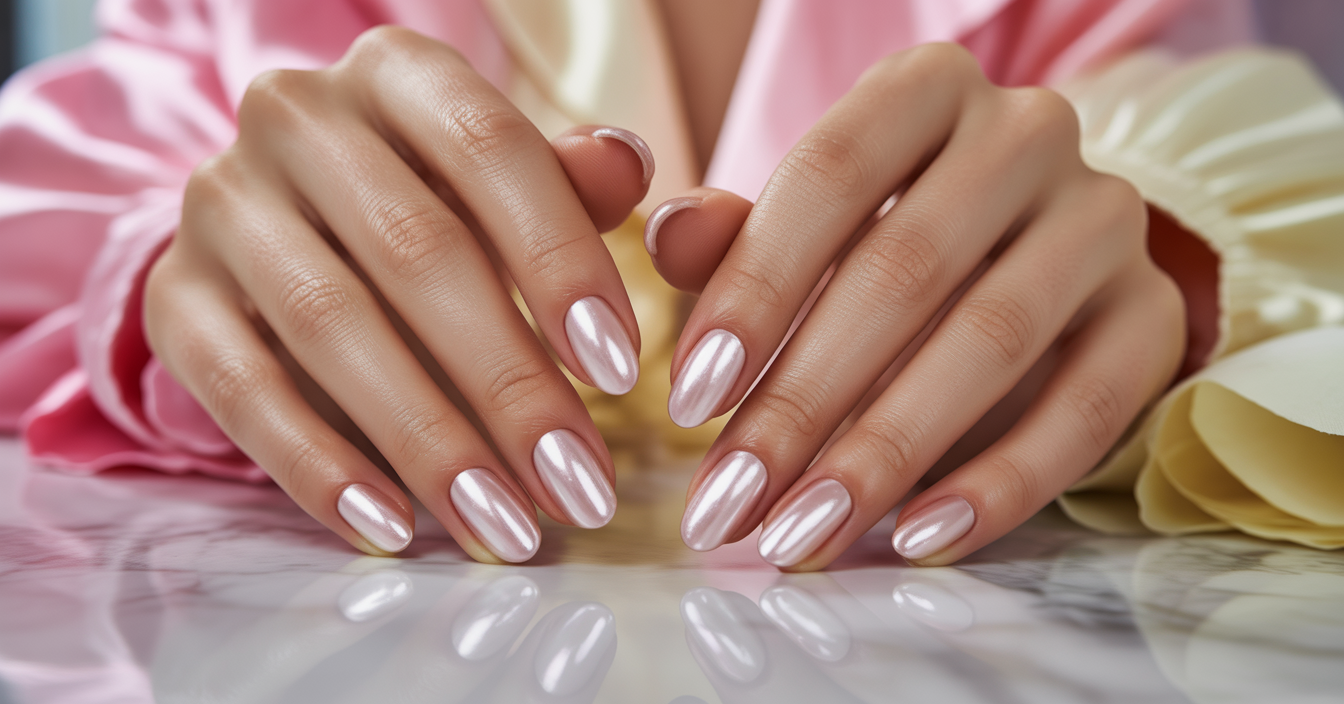
Glazed donut nails are all about layering a sheer, milky base with a fine chrome powder on top. This combination creates a soft, reflective finish that looks smooth and slightly translucent. I love how the light catches the surface, giving nails a fresh, hydrated appearance.
What really stands out to me is the subtle depth this style offers. Because the base isn’t fully opaque, your natural nail slightly shows through. That layered effect creates a multidimensional glow instead of a flat, heavy shine.
Why This Shimmery Manicure Is Everywhere
Flatters Every Skin Tone
One thing I’ve noticed is how adaptable this trend is. Since the base color is sheer, you can tweak it to suit your undertone. Whether your skin leans warm or cool, the finish enhances your hands without overpowering them.
Perfect for Any Occasion
I find this manicure incredibly versatile. It’s refined enough for formal events but still understated for daily wear. You don’t have to worry about it looking too bold or distracting in professional settings.
Works on All Nail Shapes
No matter your preferred nail shape, this style works beautifully. I’ve tried it on shorter nails and longer shapes, and it always adds a sleek, elongating effect to the fingers.
Essential Tools for the Glazed Look
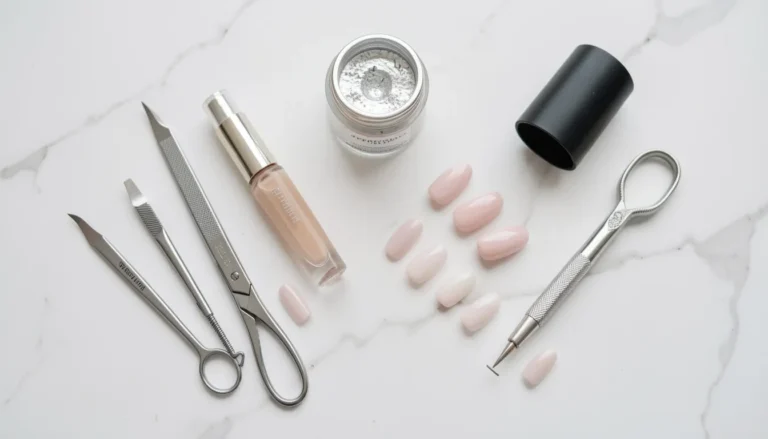
Before I start, I make sure I have all the right tools ready. A proper setup makes a noticeable difference in the final result. You’ll need a nail file, cuticle pusher, and buffer to prep your nails properly.
I also keep rubbing alcohol, a reliable base coat, and a sheer polish—usually a milky white or soft pink. The key product is a fine chrome powder, along with a sponge applicator to blend it in smoothly. Finally, a glossy top coat helps seal everything and add shine.
If you want longer-lasting results, I recommend using gel polish with a UV or LED lamp. That said, regular polish can still give you a similar glazed effect with the right technique.
Step-by-Step Guide to DIY Glazed Donut Nails
Step 1: Prep Your Canvas
I always begin with nail prep because it sets the foundation. I gently push back my cuticles, shape my nails, and lightly buff the surface. Cleaning each nail with rubbing alcohol helps remove oils so the polish adheres better.
Step 2: Apply the Base Coat
Next, I apply a thin layer of base coat, making sure to cover the edges. This step helps prevent chipping and extends the life of the manicure. If I’m using gel, I cure it under a lamp as directed.
Step 3: Add the Sheer Color
I then apply one or two coats of a sheer polish. The goal is to keep it slightly transparent rather than fully opaque. This creates that soft, natural-looking base that defines the glazed style.
Step 4: Apply the Chrome Powder
This is my favorite part because it transforms the look instantly. I gently rub a small amount of chrome powder onto the nail using a sponge. As I blend it in, the surface develops a smooth, glossy sheen.
Step 5: Seal with a Top Coat
To finish, I apply a glossy top coat to lock everything in place. I make sure to cover the edges to avoid early wear. A drop of cuticle oil at the end keeps the nails looking hydrated and polished.
Exploring Different Color Variations
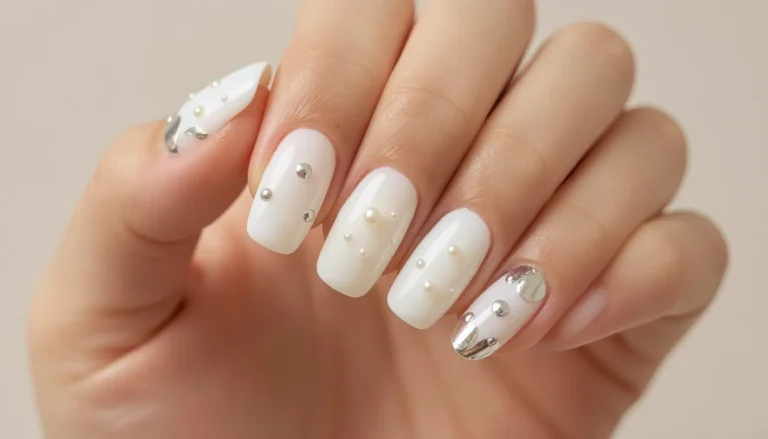
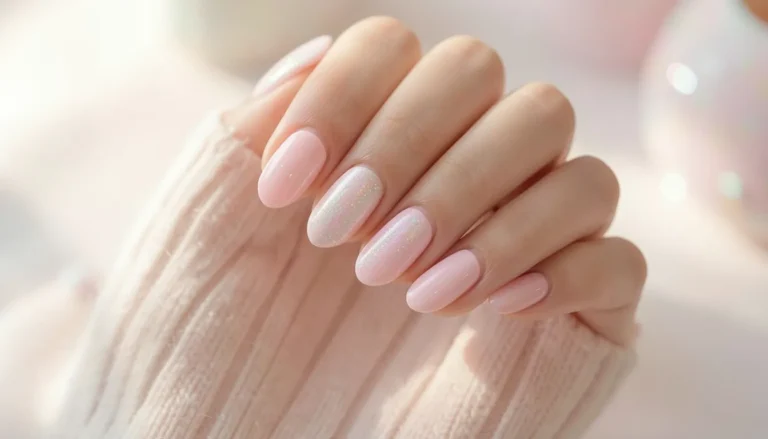
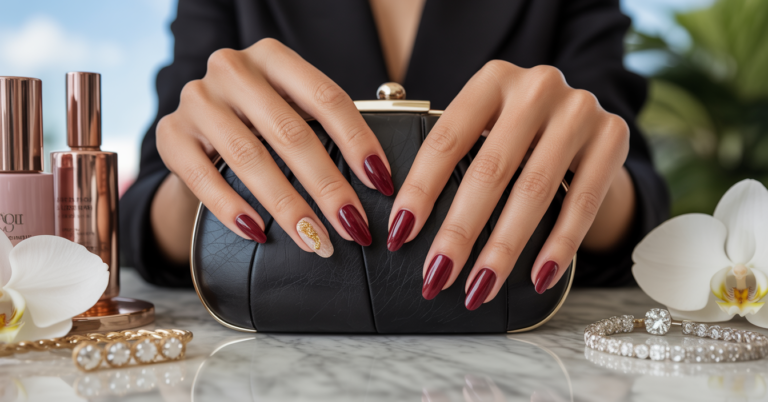
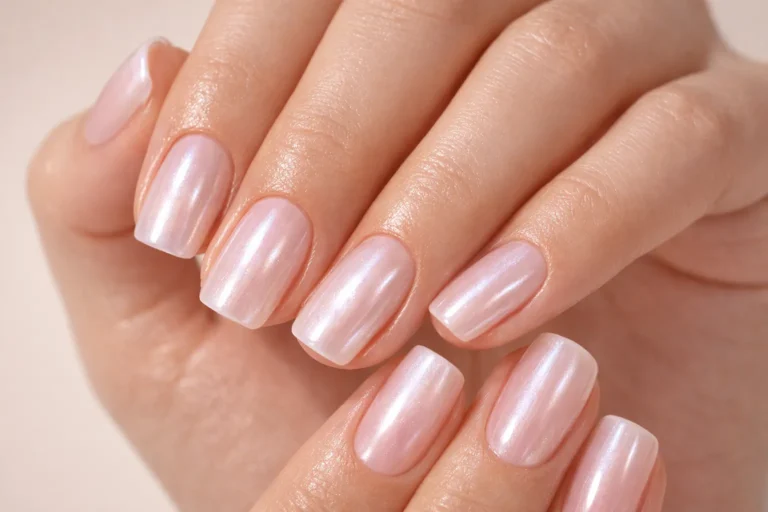
While the classic version uses a milky white base, I like experimenting with other shades. A pale pink base gives a soft, romantic finish, while deeper tones create a richer, seasonal look.
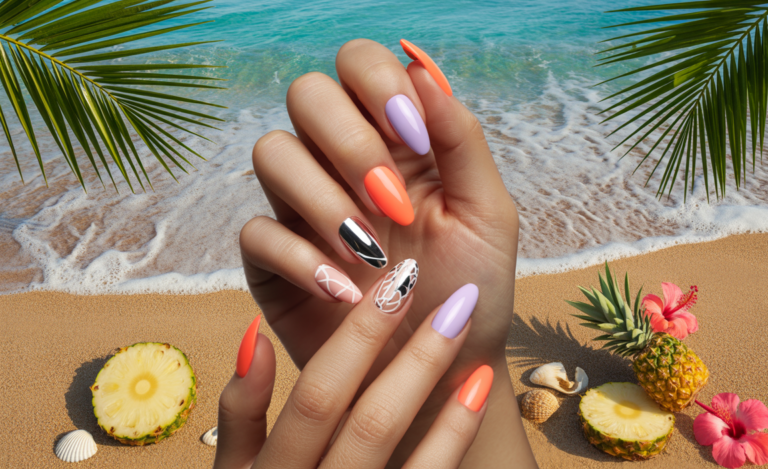
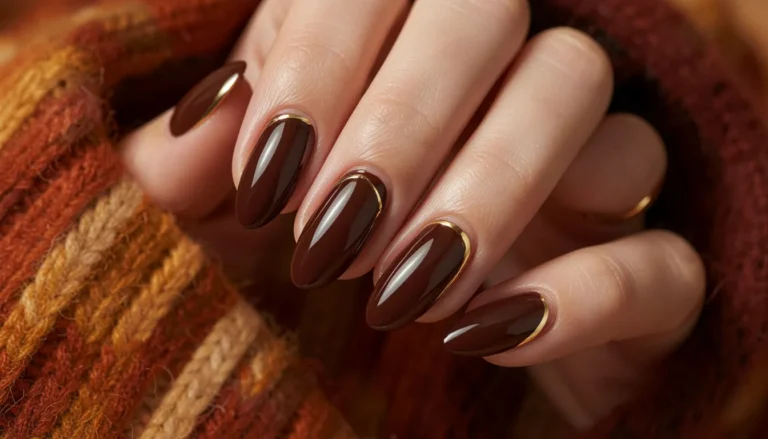
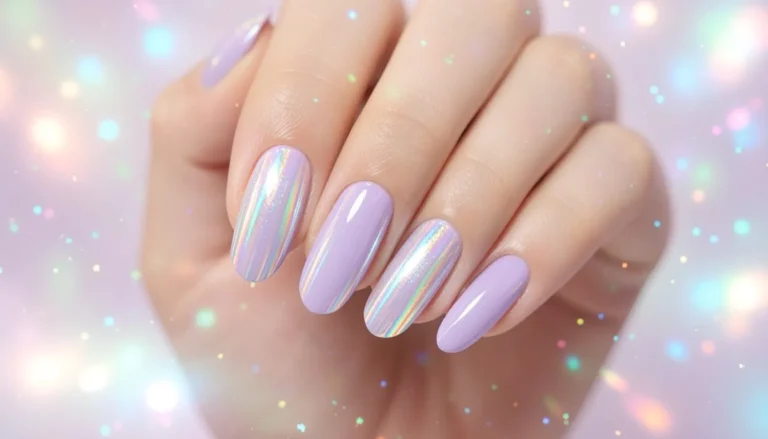
For example, a chocolate brown base paired with a warm chrome powder feels perfect for fall. On the other hand, lilac tones with holographic finishes work beautifully for summer events. Small changes in color can completely transform the overall vibe.
| Base Shade | Chrome Finish | Final Effect | Best Time to Wear |
|---|---|---|---|
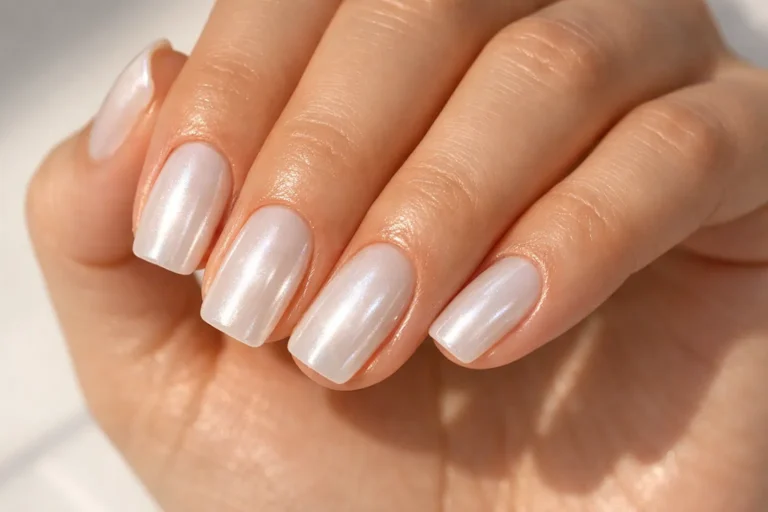
| Soft Milky White | Pearl Chrome | Classic glossy glaze with a clean shine | All year round |
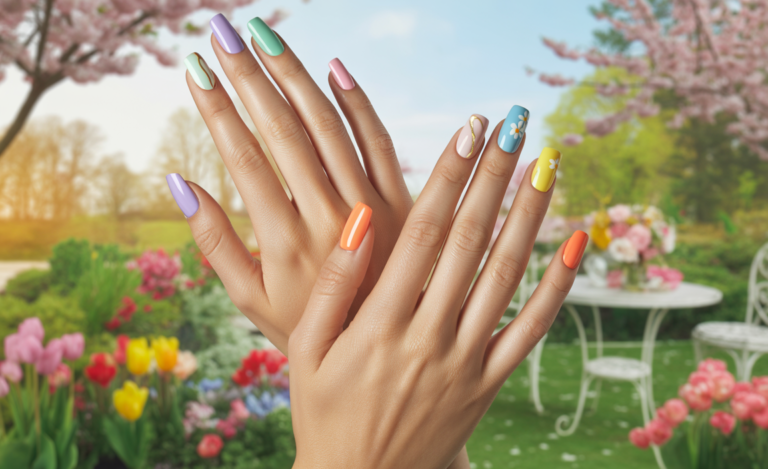
| Light Pink | Soft Pearl Chrome | Fresh, rosy glow with a natural finish | Spring and weddings |
| Neutral Nude | Champagne Chrome | Subtle shimmer that enhances skin tone | Everyday or office wear |
| Deep Brown | Gold Chrome | Warm, rich glazed look with depth | Fall and winter |
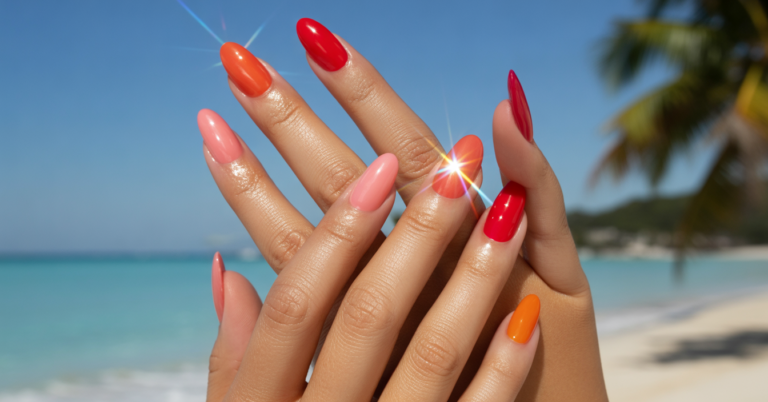
| Lilac | Holographic Chrome | Playful, slightly iridescent shine | Summer and vacations |
Pro Tips for a Long-Lasting Pearlescent Finish
From my experience, using less chrome powder gives the best results. Too much can make the surface look grainy instead of smooth. A tiny amount is enough to create that signature glow.
When applying the final top coat, I avoid pressing the brush too hard. A gentle, floating motion helps prevent streaks. I also make it a habit to moisturize my cuticles daily since dry skin can take away from the overall polished look.
Conclusion
Glazed donut nails are one of those trends that feel both modern and timeless. I love how easy they are to customize while still looking elegant and clean. With just a few tools and a bit of patience, you can achieve a professional-looking manicure at home.
If you’re looking for a simple way to elevate your nail game, this is definitely worth trying. The soft, glowing finish makes your hands look instantly more refined.
Frequently Asked Questions (FAQs)
1. Can I do glazed donut nails without gel polish?
Yes, I’ve tried it with regular polish too. You just need a slightly tacky base or a special iridescent top coat to help the powder stick properly.
2. Why does my chrome powder look sparkly instead of smooth?
In my experience, this happens when the powder isn’t fine enough or the surface is too sticky. Using a high-quality chrome powder and applying it to a smooth base fixes the issue.
3. How long does this manicure last?
When I use gel polish and seal it properly, the results usually last up to two to three weeks without noticeable chipping.
4. What is the exact color used for the viral look?
The popular version often uses a milky white gel polish paired with a pearl chrome powder. This combination creates the signature glossy, glazed finish.