Jelly Nails: The Guide to the See-Through Manicure Trend
I’ve noticed jelly nails becoming one of those trends that keep coming back stronger every season. They’re fun, glossy, and give your nails that unique see-through effect that instantly stands out. In this guide, I’ll walk you through what jelly nails are, how to achieve them, and how to choose the best styles for your look.
What I personally love about jelly nails is how they balance playful and polished at the same time. Whether you go for a soft tint or bold transparent colors, they always feel fresh and modern. Plus, they’re incredibly customizable, which makes them perfect for experimenting with different designs.
If you’ve been thinking about trying a new manicure style, this is one of the easiest ways to switch things up without going too extreme. Let’s break it all down so you can confidently try the jelly nail trend.
Key Takeaways
Jelly nails feature a translucent, glossy finish that creates a see-through effect
They can be worn as simple colors or used for detailed nail art designs
Gel versions last longer, while DIY options offer more flexibility
Custom jelly polish can be created using clear and colored polish
Popular styles range from natural tones to bold, vibrant shades
Regular care helps maintain shine and extend the life of the manicure
What Exactly Are Jelly Nails?
Jelly nails are all about that translucent, glass-like finish that lets your natural nail peek through. Unlike traditional nail polish that gives full coverage, jelly polish is intentionally sheer, creating a soft wash of color instead of a solid layer.
I find this effect similar to tinted lip gloss but for your nails. It gives just enough color to be noticeable while still looking light and airy. The glossy finish adds depth, which makes even simple manicures look more interesting.
Another reason I like this trend is its flexibility. You can keep it minimal with one color or build on it with nail art like glitter, foils, or even tiny flowers. The see-through base makes every detail stand out more.
The Origins of the Jelly Nail Trend
While jelly nails feel like a recent trend, they’ve actually been around for a while. I remember seeing them gain attention in the late 2010s, especially in Korean and Japanese nail art scenes.
These beauty trends often focus on glowing, dewy aesthetics, which is exactly what jelly nails deliver. The glossy, transparent look fits perfectly into that style. Social media platforms later helped push the trend worldwide, making it a go-to choice for nail lovers everywhere.
Today, it’s not just influencers wearing jelly nails. They’ve become a mainstream option in salons, showing just how versatile and appealing this look really is.
Key Differences: Jelly Polish vs. Regular Polish
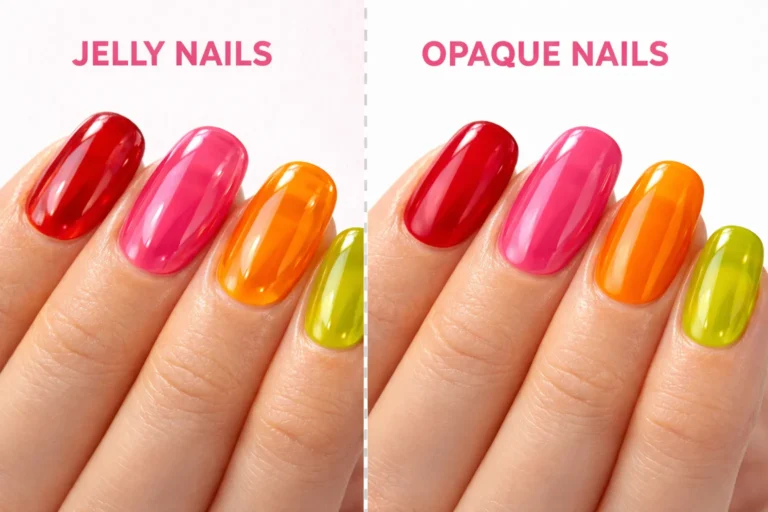
Understanding how jelly polish works makes a big difference when trying to recreate the look. From my experience, the main difference comes down to opacity, finish, and how you apply it.
Regular polish is designed to fully cover your nail in one or two coats. Jelly polish, on the other hand, is sheer by design. You build the color gradually, which gives that signature transparent effect.
The finish is also noticeably different. Jelly nails have a glossy, almost wet look that adds depth. When applying, I usually go with thin layers and build up slowly depending on how bold I want the color to appear.
How to Get Jelly Nails: Salon vs. DIY
You don’t need to rely on just one method to achieve jelly nails. I’ve tried both salon and at-home options, and each has its own advantages depending on what you’re looking for.
Professional Salon Application
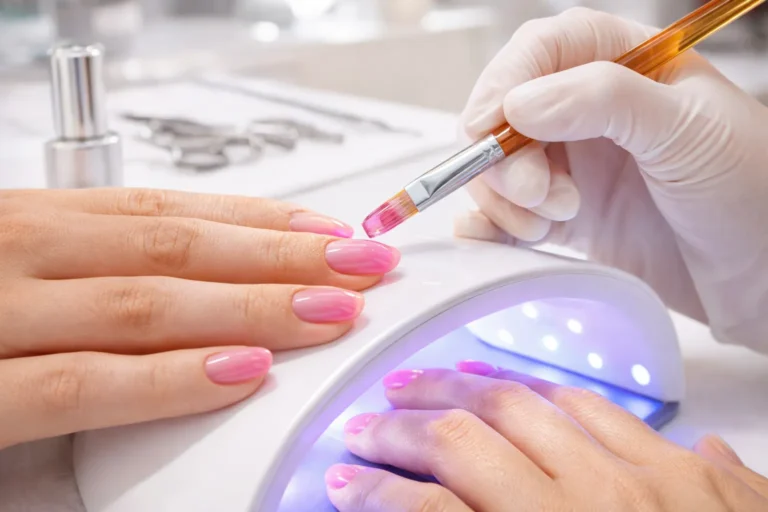
When I want a long-lasting, flawless finish, I go to a salon. Nail technicians usually use gel products that give a smoother and more durable result.
The process starts with prepping the nails, followed by a clear base coat. Then, sheer gel color is layered and cured under a lamp. If you want designs, they’re added between layers for a dimensional look.
The biggest benefit here is durability. A gel jelly manicure can last up to three weeks without chipping, which makes it worth it if you don’t want frequent touch-ups.
DIY Jelly Nails at Home
If you enjoy doing your nails yourself, jelly nails are actually pretty easy to recreate. I like doing this when I want to experiment with colors or save money.
You can either buy ready-made jelly polish or create your own. For application, I always start with clean nails and a base coat. Then I apply thin layers of jelly polish until I get the desired color.
A glossy top coat is essential. It’s what gives that signature shiny finish and makes the whole look come together.
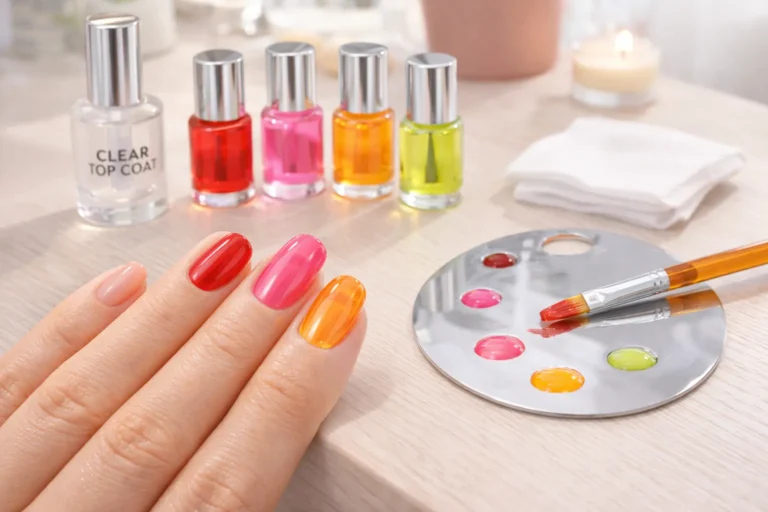
Creating Your Own Custom Jelly Polish
This is one of my favorite tricks because it gives you endless color options. All you need is a clear top coat and a regular nail polish.
I usually mix a drop or two of colored polish into the clear base. The less color you add, the more transparent it stays. It’s a simple way to customize shades and reuse polishes you already own.
Once mixed, you apply it just like regular polish. It’s quick, creative, and perfect if you can’t find the exact shade you want.
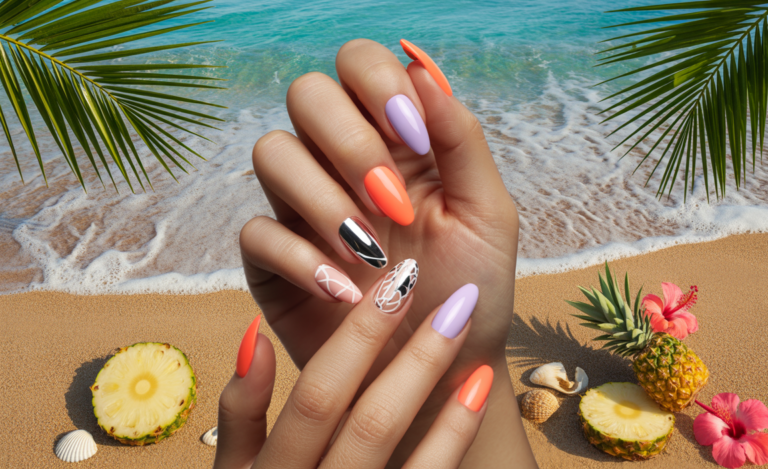
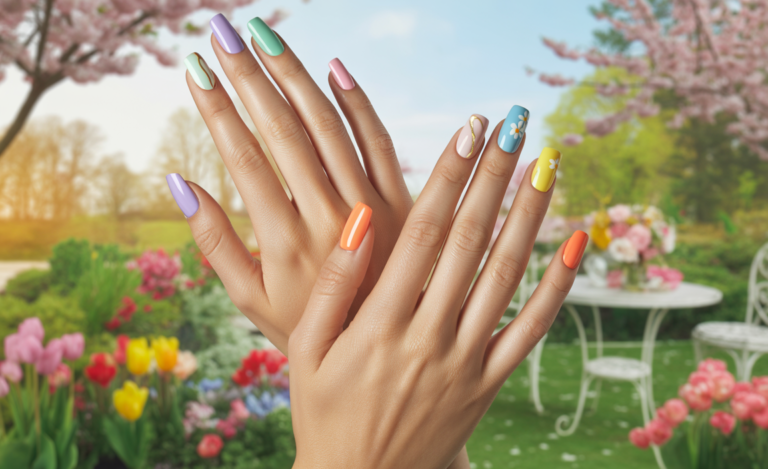
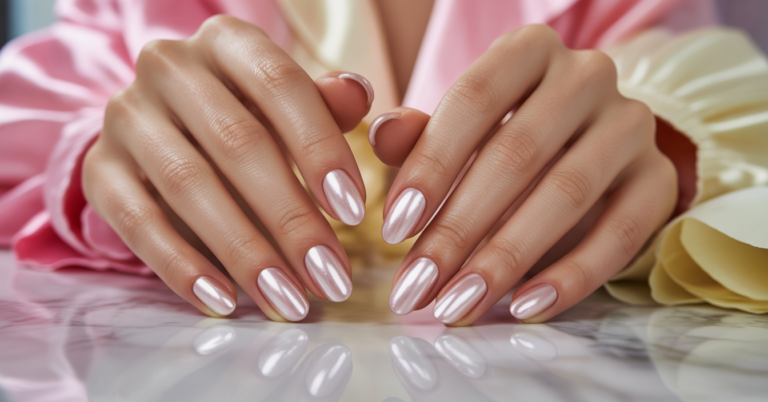
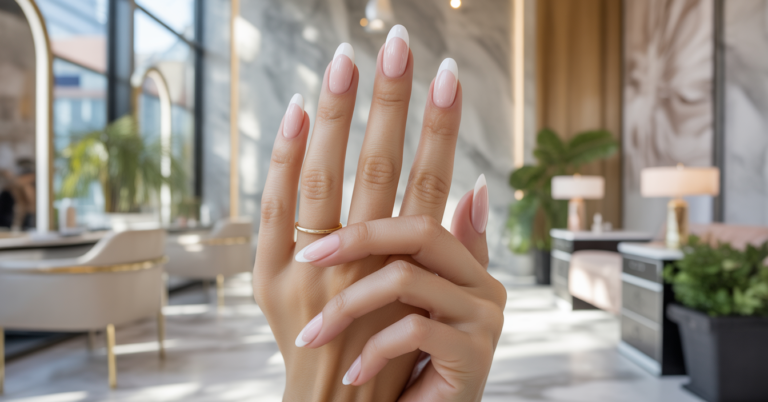
Popular Jelly Nail Colors and Styles
What makes jelly nails exciting is how many directions you can take them. I’ve experimented with a few styles, and each one gives a completely different vibe.
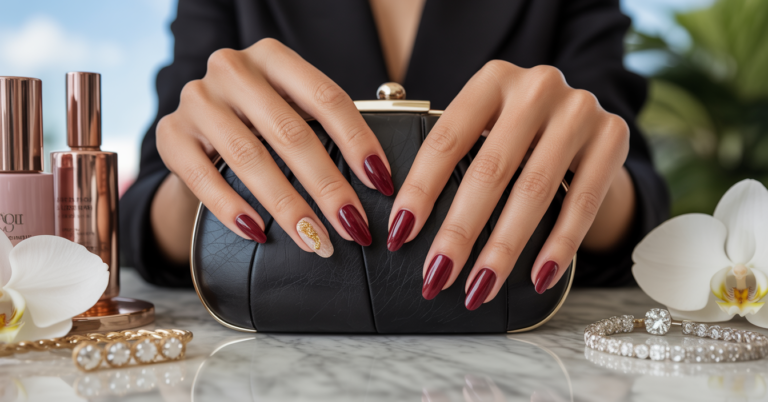
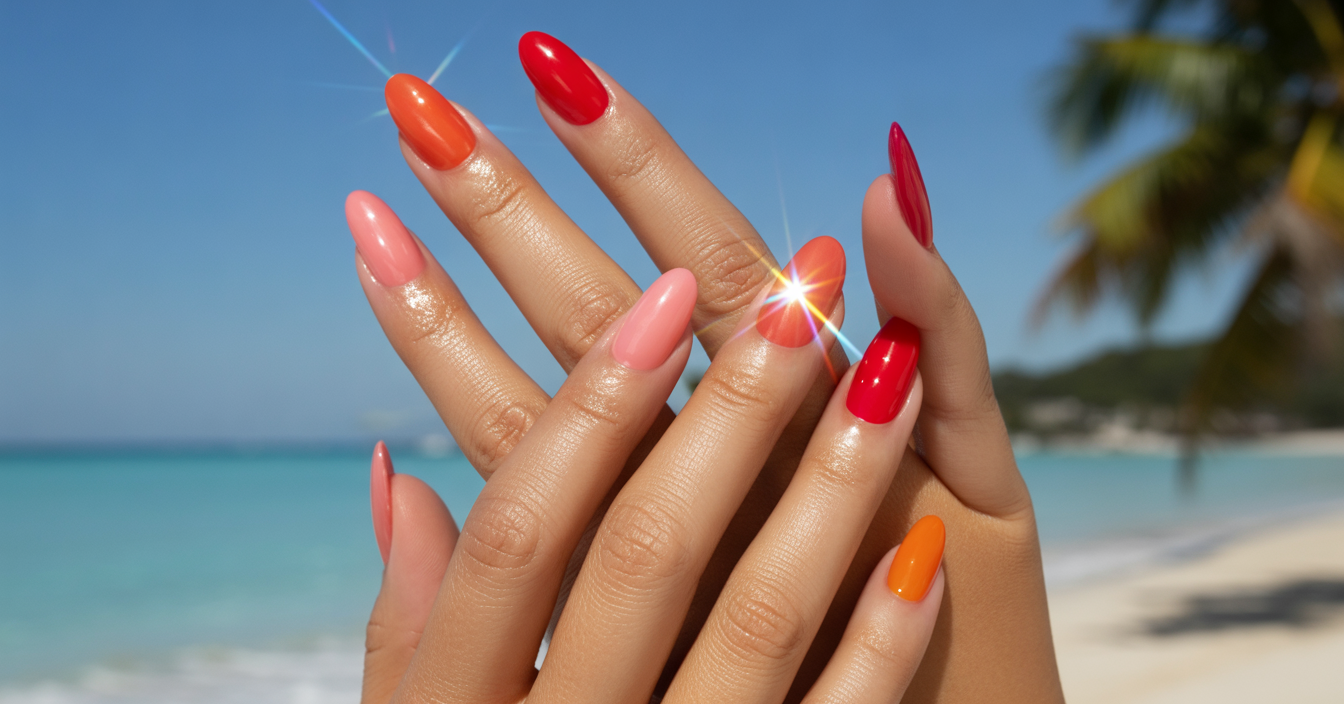
Classic Reds and Pinks
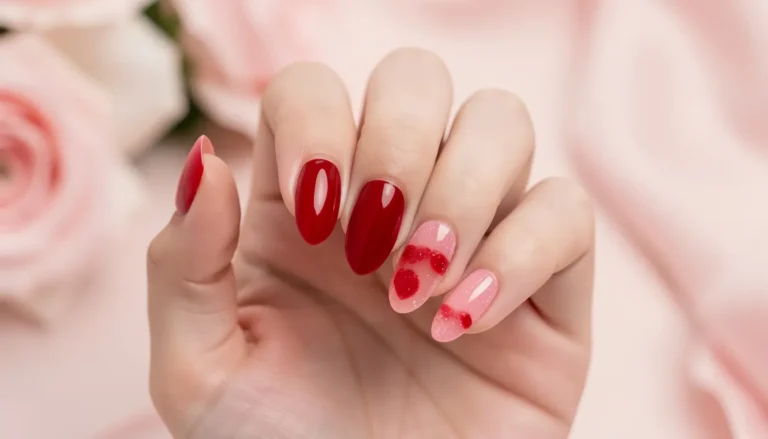
These are my go-to when I want something simple but still eye-catching. Sheer reds and soft pinks feel fresh and flattering without being too bold.
They work for almost any occasion, which makes them a great starting point if you’re new to jelly nails.
Moody Blues and Greens
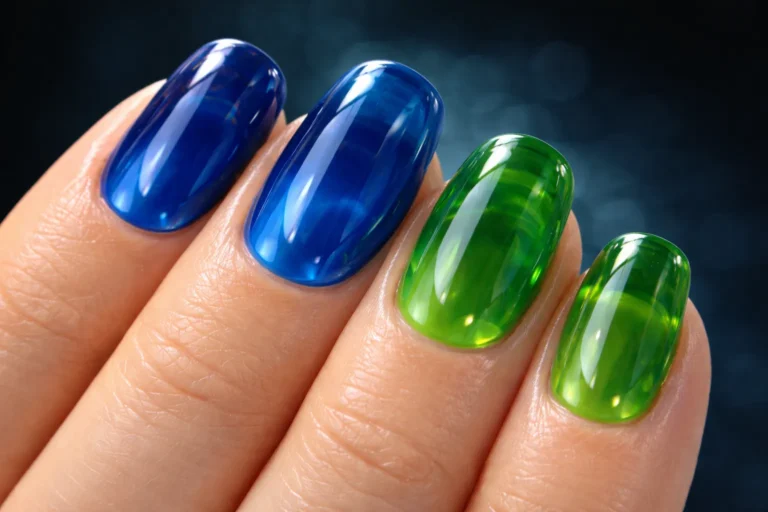
When I want something a bit deeper, I go for blue or green tones. These shades create a rich, almost glass-like effect that looks especially good in cooler seasons.
They feel more dramatic but still maintain that transparent finish.
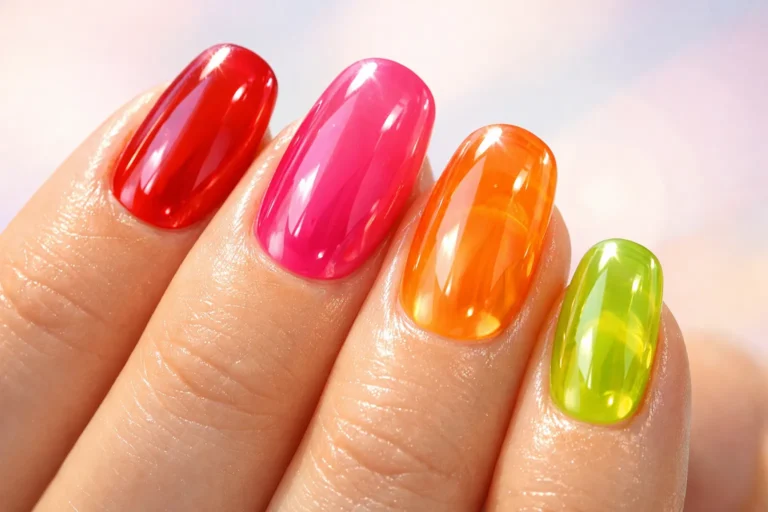
90s-Inspired Brights
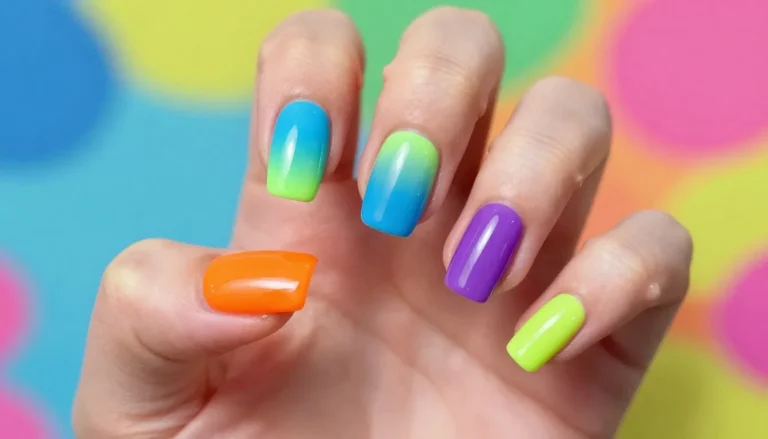
If you like bold looks, bright jelly colors are a lot of fun. Think neon greens, oranges, and purples with a transparent twist.
These remind me of retro styles and are perfect when you want your nails to stand out.
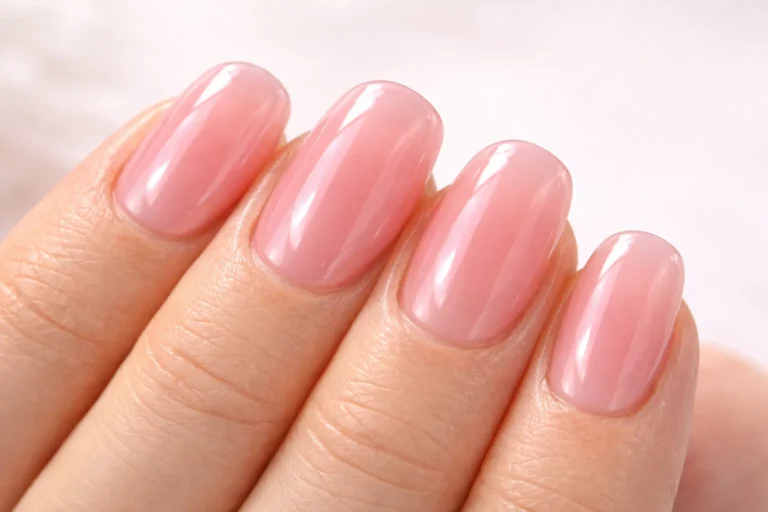
The “Lip Gloss” Nail
This is a softer, more natural version of the trend. I use sheer nude or milky pink shades to create that clean, polished look.
It’s subtle but elegant, and it works well for everyday wear.
Jelly French Manicure
I love this modern take on the classic French manicure. Instead of opaque tips, you use a jelly finish for a softer, more playful effect.
It’s a small twist that makes a big difference in how the manicure looks overall.
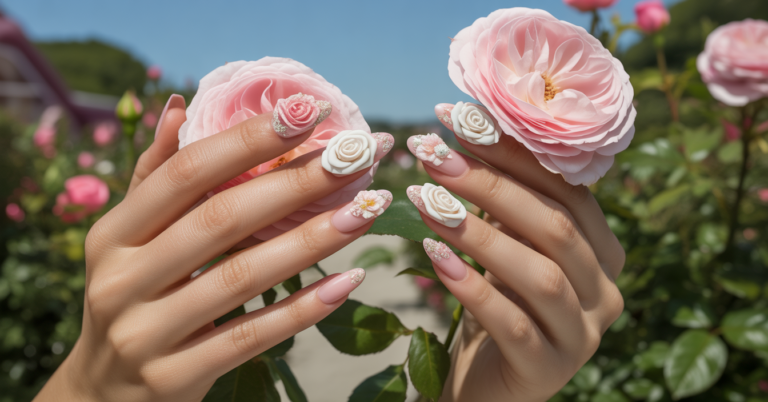
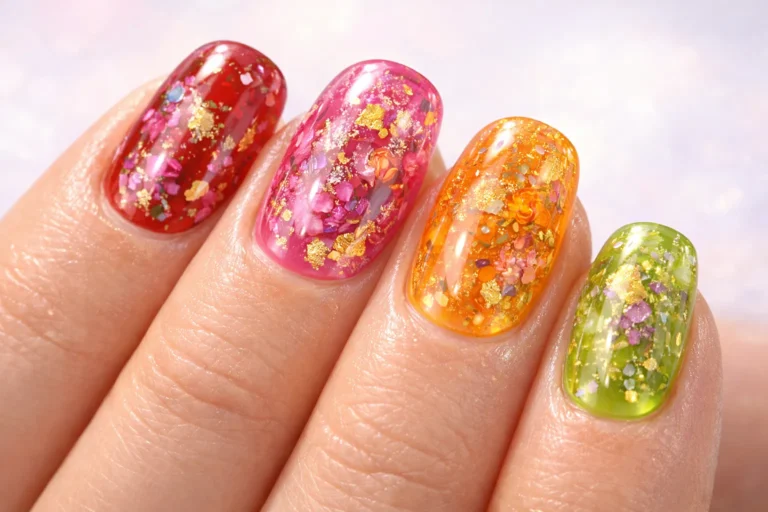
Encapsulated Designs

This is where jelly nails really get creative. Because the polish is transparent, you can layer designs inside it.
I’ve tried glitter and foil before, and it creates a cool, multi-dimensional look. You can also add tiny flowers for something more delicate and unique.
Caring for Your Jelly Manicure
Keeping jelly nails looking fresh doesn’t take much effort, but a few habits make a big difference. I always reapply a top coat every few days when using regular polish to maintain shine.
Cuticle care is another thing I don’t skip. Hydrated cuticles make the whole manicure look cleaner and healthier.
When doing chores, I try to wear gloves to avoid damage. Even though gel manicures are stronger, it’s still a good idea to be gentle with your nails.
Conclusion
For me, jelly nails are more than just a trend—they’re a creative way to express your style. They combine a nostalgic feel with a modern finish that works for almost anyone.
What makes them stand out is their versatility. You can keep things simple or go all out with layered designs. Either way, the glossy, see-through effect always adds something special.
If you’re looking for a manicure that feels fresh, customizable, and easy to wear, jelly nails are definitely worth trying.
FAQs
1. General Questions About Jelly Nails
1. Are jelly nails damaging to my natural nails?
From my experience, jelly nails themselves are not damaging. Most issues come from improper removal or over-filing, so gentle care is important.
2. Can I get jelly nails if I have short nails?
Yes, and I actually think they look great on short nails. A sheer color can make them appear neat and polished without needing extra length.
3. How do I remove a jelly gel manicure?
I usually recommend salon removal, but at home you can soak your nails in acetone after lightly filing the top coat, then gently remove the polish.
4. How long does a DIY jelly manicure last?
In my experience, it lasts about 5 to 7 days, similar to regular polish. Using a good base and top coat helps extend wear time.
5. What is the difference between jelly and chrome nails?
Jelly nails are transparent and glossy, بينما chrome nails are opaque with a reflective, metallic finish.