Bubble Bath Nails: The Ultimate Guide to the “Your Nails But Better” Manicure

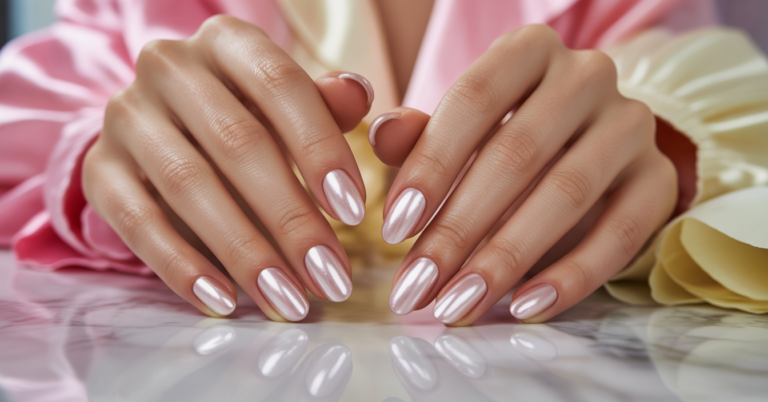
I’ve been noticing how bubble bath nails have become one of the most trusted minimalist manicure choices in modern beauty. This look focuses on a sheer milky pink finish that enhances natural nails without overpowering them. It’s simple, elegant, and fits almost every lifestyle or occasion.
From my perspective, this trend stands out because it aligns with both practicality and aesthetics. It gives a clean, healthy nail appearance while staying low-maintenance and versatile. I see it as a professional-friendly and everyday wearable manicure that never feels out of place.
In this guide, I’ll explain what bubble bath nails are, why they matter, and how I personally approach them using proven nail care practices. I’ll also share application methods, shade guidance, and customization ideas based on widely accepted nail care principles and salon techniques.
Key Takeaways
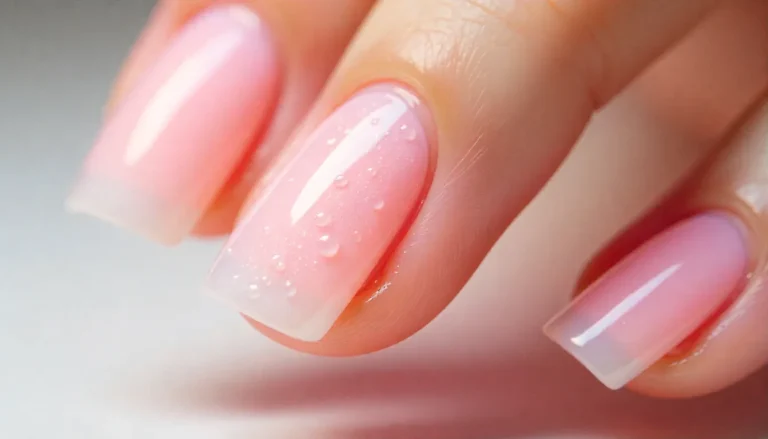
Bubble bath nails are a sheer, milky pink manicure designed for a natural finish
The style aligns with modern minimalist and professional beauty trends
Proper nail preparation is essential for long-lasting results
Thin layering techniques ensure smooth and even coverage
The look is widely used in both salon and at-home nail care routines
What Exactly Are Bubble Bath Nails?
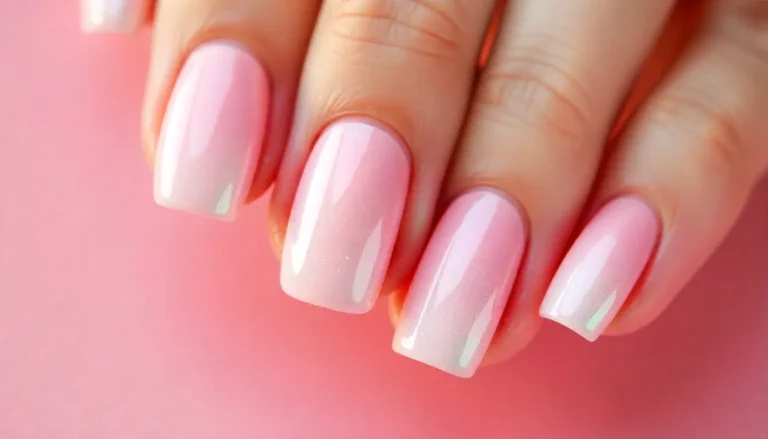
From an industry standpoint, bubble bath nails refer to a sheer, milky pink manicure style that enhances the natural nail plate. The polish is designed to provide light coverage while still allowing natural nail tones to show through. This creates a clean and healthy-looking finish.
The term originates from OPI’s well-known shade “Bubble Bath,” which became a salon staple over time. Today, professionals use the term more broadly to describe any similar soft pink or nude translucent manicure. It has become a recognized category in natural nail styling.
The Philosophy Behind the Trend
I see bubble bath nails as part of a larger shift in beauty toward minimalism and skin-first aesthetics. Many nail professionals agree that clients are now choosing subtle enhancements over heavy designs. This reflects a preference for polished but natural-looking results.
This style also aligns with the “clean girl” aesthetic and quiet luxury movement, both of which emphasize understated grooming. In salon environments, these nails are often recommended for clients who want professional, neutral, and versatile looks. It’s a practical choice backed by modern beauty trends.
Another important factor is versatility, which makes this style widely adopted in professional settings. It works for corporate environments, formal events, and everyday wear without needing adjustments. This adaptability is one reason nail technicians frequently recommend it.
Why Everyone is Obsessed with This Understated Look
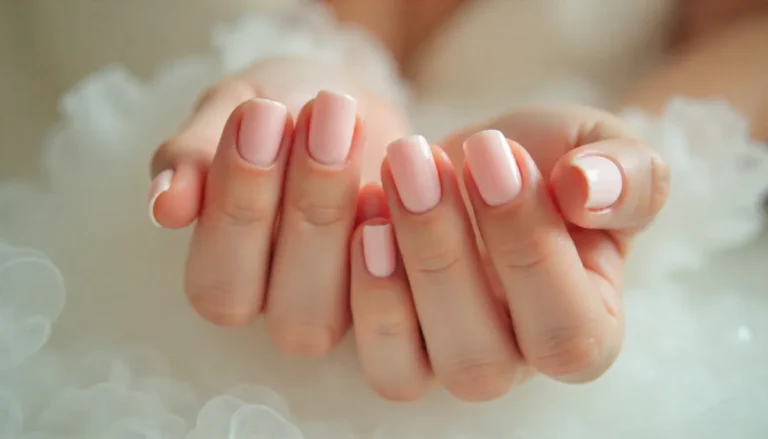
From a nail care perspective, one major benefit of bubble bath nails is their low-maintenance growth pattern. Because the color is close to the natural nail tone, regrowth lines are less visible compared to darker polishes. This extends the wear time between salon visits.
Another advantage is the visual improvement of nail health. The sheer formula helps even out discoloration and minor surface imperfections, which creates a smoother nail appearance. Nail professionals often use this type of polish to enhance natural nail aesthetics without artificial heaviness.
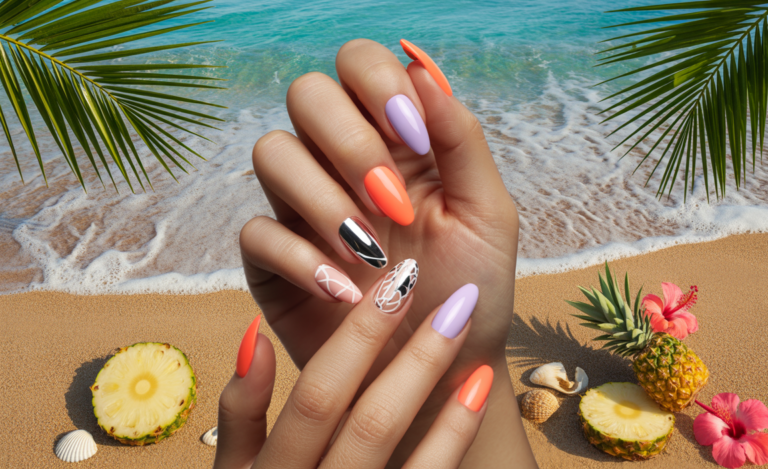
It also serves as an excellent base for minimal nail art techniques. Many salons use it as a foundation for micro French tips or subtle metallic accents. This allows customization while maintaining a clean and professional finish.
How to Achieve the Perfect Bubble Bath Nails at Home
Based on standard nail technician practices, preparation is the most important step in achieving a smooth bubble bath finish. Clean, shaped, and dehydrated nails ensure better adhesion and reduce streaking. This step directly affects the final result.
Proper application also relies on thin, even layering techniques. Nail professionals typically recommend applying multiple thin coats instead of one thick layer to maintain clarity and avoid bubbling. This method ensures a consistent translucent effect.
Finishing with a high-quality topcoat is essential for durability and shine. In most salon environments, a glossy topcoat is used to replicate the gel-like finish associated with this style. It also helps seal the polish and extend wear time.
Essential Tools and Products
From a professional nail care standpoint, basic tools significantly impact application quality. A nail file, buffer, cuticle pusher, and cleanser are standard items used before any polish application. These tools prepare the nail plate for optimal results.
A ridge-filling base coat is commonly recommended by nail technicians to create an even surface. It helps smooth out texture differences and improves polish adherence. This is especially important for sheer formulas like bubble bath shades.
A high-shine topcoat is considered essential in both salon and at-home applications. It enhances gloss, protects the color layer, and contributes to the signature “plump” finish. Without it, the manicure may appear dull or unfinished.
Step-by-Step DIY Tutorial
Step 1: Nail Preparation
I begin by shaping the nails into a natural round or soft square shape, which is widely recommended by nail professionals. Then I gently push back the cuticles to create a clean nail bed. This ensures better polish application and longevity.
After that, I lightly buff the nail surface to remove uneven texture. I also cleanse the nail plate using alcohol or a dehydrator to remove oils. This step is standard in salon preparation procedures.
Step 2: Apply Base Coat
A base coat is applied in a thin, even layer to protect the natural nail and improve adhesion. In professional practice, this step is essential for preventing staining and extending wear time. I always allow it to dry completely before continuing.
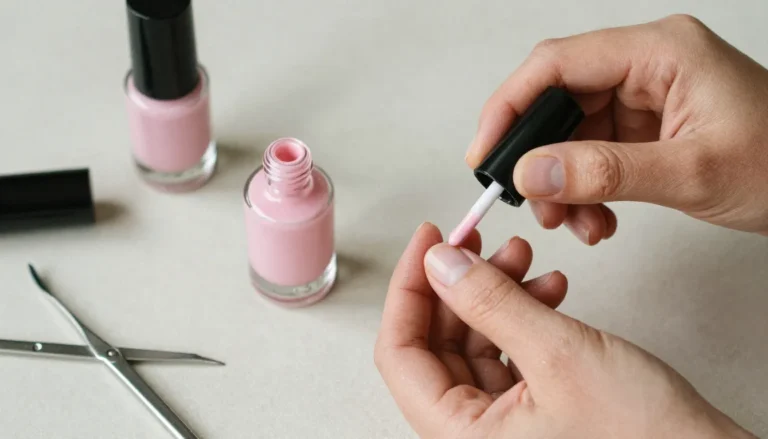
Step 3: Apply Sheer Color
The sheer pink polish is applied in thin, controlled strokes to maintain even translucency. Nail experts recommend building color gradually to avoid streaks or patchy coverage. I typically start with one light coat.
If additional opacity is desired, a second or third thin coat can be applied after each layer dries. This controlled layering technique is widely used in professional nail services. It ensures a smooth and consistent finish.
Step 4: Apply Top Coat
A glossy topcoat is applied to seal the manicure and enhance shine. Nail technicians usually recommend sealing the free edge to prevent early chipping. This step completes the salon-quality finish.
Finding Your Perfect Shade: Beyond OPI’s Bubble Bath
Shade selection in nail care depends heavily on undertones and skin tone compatibility. Professional nail artists often customize sheer pinks based on client complexion to achieve balanced results. This improves overall harmony and appearance.
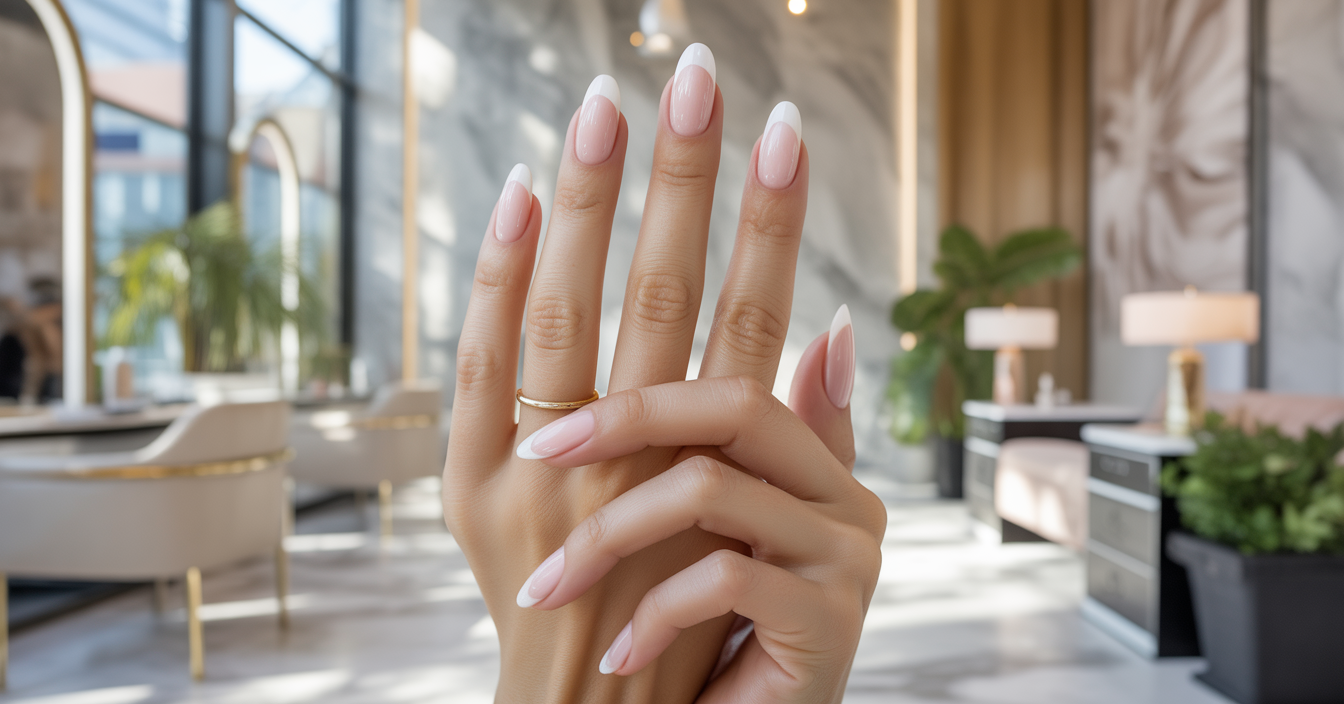
For fair skin tones, cooler and soft pink-based shades are commonly recommended. These tones enhance natural nail brightness without appearing too heavy. They maintain a subtle and clean aesthetic.
For medium and deeper skin tones, warmer nude-pink or beige-based shades are typically preferred. These tones provide contrast while maintaining a natural finish. This approach is widely used in salon consultations.
Customizing Your Bubble Bath Manicure
Customization is common in modern nail services while still preserving the minimalist base. Nail artists often use subtle enhancements that do not overpower the natural look. This maintains the integrity of the bubble bath aesthetic.
One popular professional upgrade is the glazed finish, achieved using chrome powder over a cured or tacky layer. This technique creates a reflective surface effect while maintaining a soft base. It is widely used in high-end nail salons.
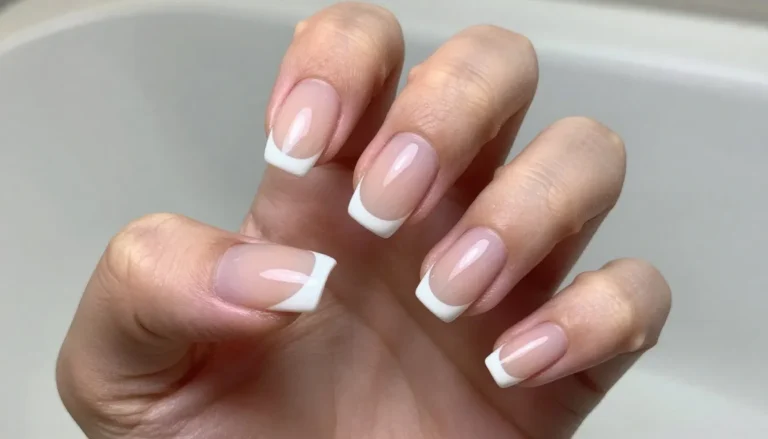
Micro French tips and minimal accents like foil or dots are also common customization methods. These designs are applied with precision tools to maintain balance and symmetry. They add detail without compromising simplicity.
Bubble Bath Nails: Gel vs. Regular Polish
From a professional standpoint, both gel and traditional lacquer systems are used to achieve this look. Regular polish offers flexibility and easier removal, making it suitable for at-home use. However, it may require more frequent maintenance.
Gel polish systems are often preferred in salons due to their durability and high-gloss finish. They typically last two to three weeks with proper application. However, they require curing under UV or LED light and careful removal techniques.
Conclusion
From a professional and practical standpoint, bubble bath nails represent a reliable and timeless manicure choice. They balance natural beauty with polished presentation, making them suitable for a wide range of settings. I see them as a standard recommendation in modern nail styling.
This style continues to grow because it meets both aesthetic and functional needs. It is easy to maintain, adaptable, and widely accepted in professional beauty environments. With proper technique, anyone can achieve a clean and elegant result.
Frequently Asked Questions (FAQs)
1. What are bubble bath nails in professional terms?
They are a sheer, milky pink manicure style designed to enhance the natural nail while maintaining a soft and translucent finish.
2. Why do nail technicians recommend thin coats?
Thin coats ensure even application, reduce streaking, and improve overall durability of the manicure.
3. Are bubble bath nails suitable for short nails?
Yes, they are commonly recommended for short nails because they create a clean and elongated visual effect.
4. Is this style appropriate for professional environments?
Yes, it is widely used in corporate and formal settings due to its neutral and polished appearance.
5. How long does this manicure typically last?
With regular polish it lasts several days, while gel versions can last up to two to three weeks depending on application quality.